- Services
- Dynamic Captions
- Animated Avatars
- BWT Videos
- ChatBot Agents

AI ChatbotsSupport more customers with a friendly greeting and helpful chatbot agent.
- Chatbots Category
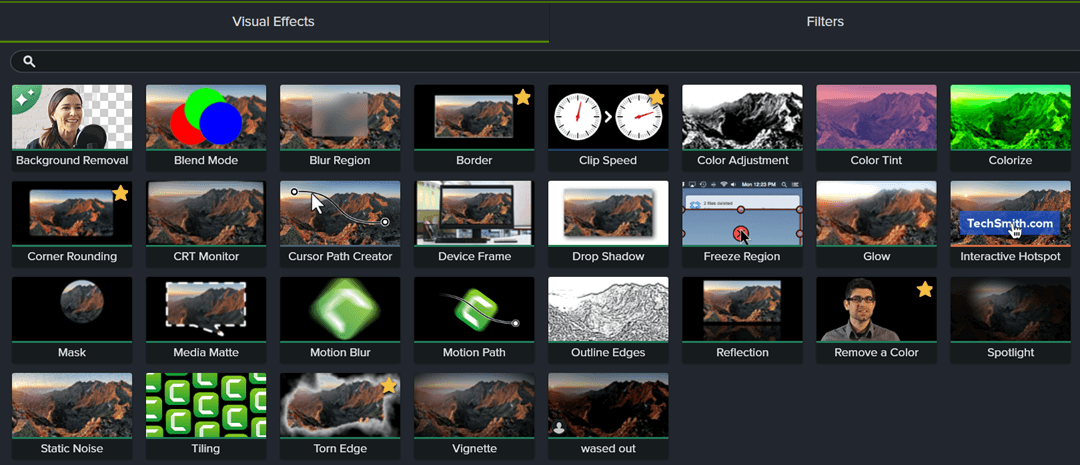
- Video Editing
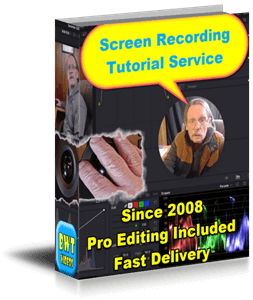
Create Screen Recording Tutorials
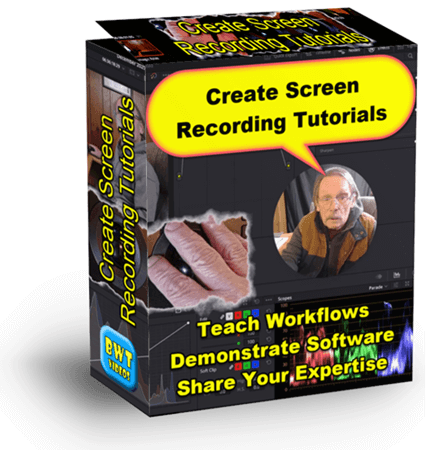
Screen recording tutorials are one of the most effective ways to demonstrate software, teach workflows and share your expertise. You may be training employees, supporting customers or building an online course. Video tutorials help people learn quicker with less confusion.
This guide walks you through the process from planning to recording, editing, polishing and publishing a professional screen recording tutorial.
What Is A Screen Recording Tutorial?
A well made tutorial is clear, focused and easy to follow. Viewers should always know what comes next, and why it matters. The best tutorials combine clean visuals, mixed audio, good pacing and simple instructions to guide the viewer through a process. Great tutorials have:
- A clear purpose or goal.
- Clean visual with little clutter.
- Logical step-by-step structure.
- Clear narration or on-screen text.
- Cursor emphasis and highlights.
- Professional editing that highlights key actions.
- Caption, titles and subtitles for improved retention.
How To Create Screen Recording Tutorials
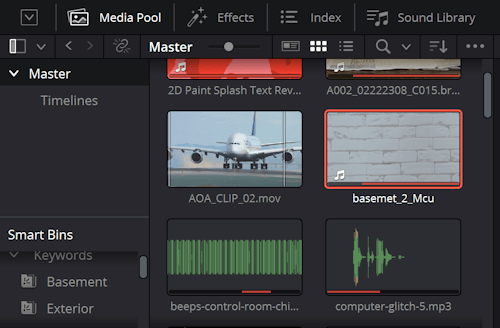
Getting started requires you have a connected computer with plenty of memory and an office to work from. You will also need the right software to create videos with. For this guide we will use Camtasia, Snagit and DaVinci Resolve for examples and instructions.
Step 1. Pick the right tools:
- Camtasia © all-in-one screen recorder, video editor and publishing software platform.
- OBS Studio free and powerful software, ideal for long recordings. Open source freeware for video recording and live streaming.
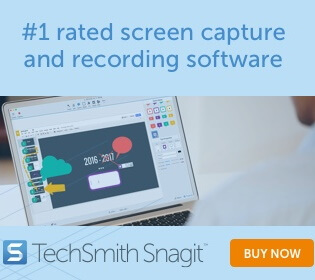
- SnagIt © Graphic editor with powerful video and image tools.
- Wondershare DemoCreator easy for webcam and walkthroughs. A lightweight screen recorder that can capture your screen.
Best Website Tools, LLC (BWT) is an affiliate marketer. If you purchase a product through our website we may earn a commission of the sale. BWT does not take any responsibility for content or performance of any affiliate products. See complete affiliate disclaimer here.
Step 2. Plan Your Tutorial
Gather any media files you want to include. This includes files, videos, audio, examples, worksheets, software, etc. that will be relevant to the project. Decide whether you are going to narrate the video or have a generated voice over.
Determine your final output format you are delivering in, 4k, 2k, .mp4, .mov or whatever. Knowing what you want to end up with will guide your recording, editng and releasing processes.
Step 3. Record Your Screen

Use a high Resolution monitor. Size matters in this case, the best resolution for screen recording is 4k (3840x2160px). Not too large of a monitor size is better in this case. Recommend a 24" to 27" screensize with 4k resolution for best results. Larger screen (ex. 55" widescreen) is too big to control screen activity well.
Keep in mind you will tracing your cursor over the screen. Large screen size makes this cumbersome at best. Smaller monitors afford more precise, easier cursor movements.
Clean your screen. Remove all icons, notifications and menu bars from your screen. Set the background to a neutral color like green or beige. Alternatively you may use a branded background. The reason for a solid color bg is it is clearly identifyible as a background screen.
Turn off notifications and background apps that are not necessary. Inadvertant system notifications can ruin your audio or spoil your screenshot. Put your phone into airplane mode. Turn off any noise makers like fans, furnaces and food prep machines.
Alternatively if you have Camtasia Business or DaVinci Resolve Studio you can apply noise reduction in audio post. Advanced video editors include professional audio editing tools.
Rehearse your script or technique before you record the actions. Rinse and repeat. Practice makes perfect. I cannot emphasis this enough. Unless you have unlimited time and data storage and are willing to use them to edit out mistakes, interruptions, sneezes, pauses and bad takes then practice your script before you create screen recording tutorials. That is, unless you are recording a live session.
If using a webcam and microphone adjust settings to optimum performance. Important! Take your time setting up your webcam. Planning is esstential. You might record the screen at 3840x2160px. But, your webcam may only be 2k (1920x1080px). This mismatch works perfectly for edit and release at 1920x1080px, but not so well if releasing in 4k.
Remove distractions before recording. Put phone in airplane mode so you can concentrate without interruption.
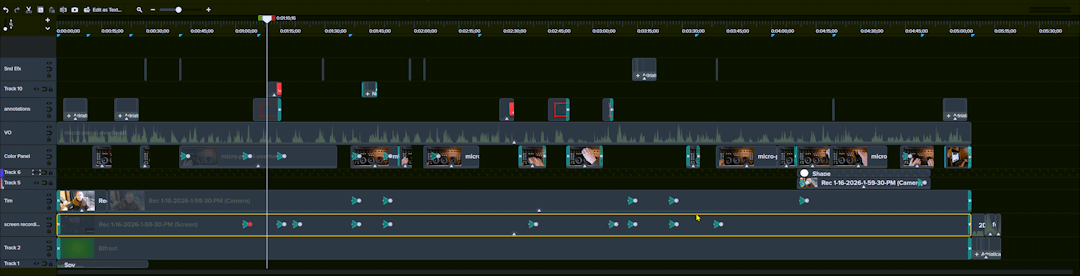
Step 4. Edit Your Tutorial
Editing is where you polish the tutorial and make it professional. Even simple changes can dramatically improve clarity. Here are some editing tips and techniques you could use to create screen recording tutorials:
- Trim out mistakes and edit long pauses.
- Add zooms to frame specific actions and highlight specific areas.
- Use arrows, boxes, callouts and pointers to emphasize key moments.
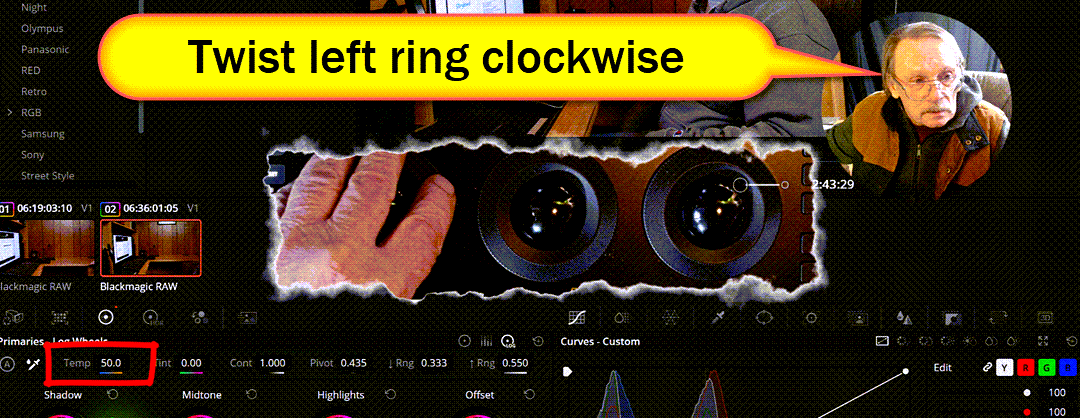
- Add cursor effects. Use the pointer, left and right mouse clicks to include emphasis, shadow, motion blur, smoothing, animation and sound.
- Optimize audio levels. Add sound effects and noise reduce unwanted interference. You may want to the take time to edit out any coughs, sneezes and other annoying sounds.
- Add transitions and segues to create pace and improve retention. Try not to overwhelm your audience with too much information all at once, or in one big chunk. Allowing time for viewers to absorb the info improves knowledge retention.
Tools like Camtasia and DaVinci Resolve make it easy to add these features to your tutorial. Combine these features to make professional tutorials.
Step 5. Narrations and Captions
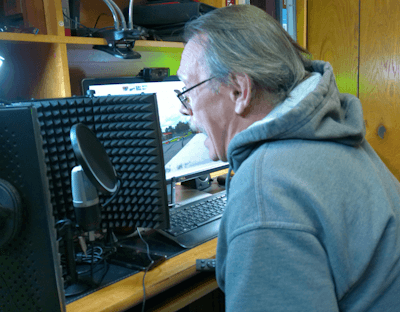
Live narration during recording. You will need a good microphone. Recommend a decent studio microphone to ensure sound quality. Voice narration in Camtasia can be assisted with on screen teleprompter type text script. You can read your script right on the screen while recording during playback.
Voice over added during editing. Can be human or text to speech. Add in the VO during post production. Both Camtasia and DaVinci Resolve have strong audio editing capabilities to help you create screen recording tutorials.
Add on screen text subtitles for silent tutorials. Great for short, simple directional videos. Great for accessibility reasons like hearing impaired, muted audio and language translation.
Dynamic captions or subtitles for accessibility. Camtasia and DaVinci Resolve have excellent solutions for adding animated lipsynced captions. It got even better with the incorporation of AI tools. It is now just as easy to create awesome motion graphics as it is to add subtitles.

For voiceover recording use a good microphone in a silent room without any distracting noises. For text to speech voice overs write concise instructions with pacing included. For 3d or AI animated voice presenters see... 3d Animated Avatars.
Step 6. Export and Publish
Publish in 1080p format. This is a standard size that fits 99.5% of monitors. 1080p has other advantages like smaller file size and universal compatibility.
Publish in .mp4 format. This universally standardized format plays on all modern screens. Whereas other formats (.mov, wmf.) do not always play on every computer.
Set your frame rate to 30 frames per second for screen recording tutorials. This speed is perfectly matched with modern online platform standards. 30 fps reduces the occurrance of glitches, and eliminates incompatibility and conversion rate errors.
Publish your video tutorial on YouTube, Vimeo, Screencast, your website, social media or internal training portals.
Common Mistakes to Avoid
Whether you are a professional or just beginning to create screen recording tutorials you may run into issues. Here are some tips to help you avoid mistakes:
- Cluttered desktop. If you are recording with a webcam or cinema camera the desktop should appear clean and organized. You may want to dress up the desktop with common office tools or tools that fit the tutorial.
- Not setting your screen resolution to 3840x2160 (4K) resolution. This size allows you to zoom in up to 50% before any degradation occurs. And able to zoom in about 75% before degradation is obvious. Using a smaller screen size limits the range your screen can be zoomed in.
- Poor sound quality. Recording clear concise audio without any extraneous background noises and hums will support your presentation. Make sure you are getting good audio levels from your microphone when recording. Alternatively, audio post with noise reduction can be applied in editing. Also, you can use a text to speech engine to generate a clear, concise, evenly paced voice-over. Which has the advantage of language translation.
- Recording too fast Speeding through a recording session too fast can leave viewers behind. A slow even pace is more readily absorbed. Even long pauses are acceptable because you can edit the pacing in post production. If you go too fast you may miss something important, and risk confusing the viewer.
- Skipping important steps viewers need to see. If possible rehearse your spiel a few times before recording. Alternatively you can reshoot or add new scenes in the edit phase.
- Failing to highlight key actions. Zooms, annotations and highlights are visual cues to the viewer that this action is important. Not pointing out key actions means your tutorial may miss the target.
- Breaking long tutorials into segments. Long tutorials can be overwhelming while shorter lessons are better retained. Alternatively you can insert long intermissions, chapters and pauses to break up the pace and give your viewers a chance to absorb the information.
- Over use of transitions or effects. Over editing a tutorial takes away from the goal intended. Makes it seem like the production itself was more important than the message it is trying to deliver.
- No closing Call to Action CTA is important to really punch home the value of your tutorial. Your CTA should be in the form of a specific action to take. You can tell them where to go, what to do and how to act. Like and Scubscribe!
When to Hire a Professional Video Editor
Creating your own screen recording tutorials is a great skill to have. But it takes lot of time and effort to produce a truly professional, polished, large scale or training library tutorial.
If you want professional editing, quick results, animation and consistency across multiple videos, hire a professional. This can save you time and frustration and possibly money.
With the right planning, tools and editing techniques you can create your own video tutorials. Or you can hire BWT Videos to do it for you...
Create Screen Recording Tutorials Service
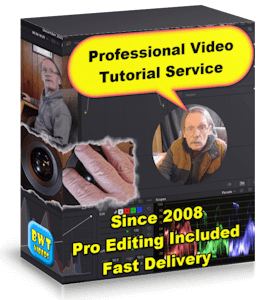
Our Service Includes
- Polished Tutorial with:
- Screencast Recordings
- Sound Mixing
- Video Editing
- Overlays & Titles
- Special Effects
- Source Files
- Fast Turnaround
Starting at $5 Order on fiverr:
BWT Videos designs every screen recording tutorial to help viewers remember more, understand better, and repeat tasks accurately. Our strategy is built around five core principles that shape how each tutorial is recorded, edited and delivered. Which are shown on Screen Recording Tutorial - all about making a screen recording tutorial.
See Also:
3d Animated Avatars - Meet the family of 3d animated spokespersons.
BWT Videos - animation, video editing and tutorial services.
Video App Store - do it yourself video apps. Be your own video maker.
Video Editing - where you can custom order a video.
Home : Video Creation Tips Category : Create screen recording tutorials

61 W. Annabelle Ave. Hazel Park,
MI. 48030-1103, U.S.A.
telephone: (248)546-0374
email: support@best-website-tools.com
© Copyright 2007-2026 All rights Reserved.
Sun: closed
Mon-Fri: 9:00AM to 6:00PM
Sat: 9AM-12:00PM
Closed Holidays
